


 About Urh Social
 Terms of Service
 Privacy Policy
 Contact
Convert Image to JAN Embroidery File for Janome Embroidery Machines
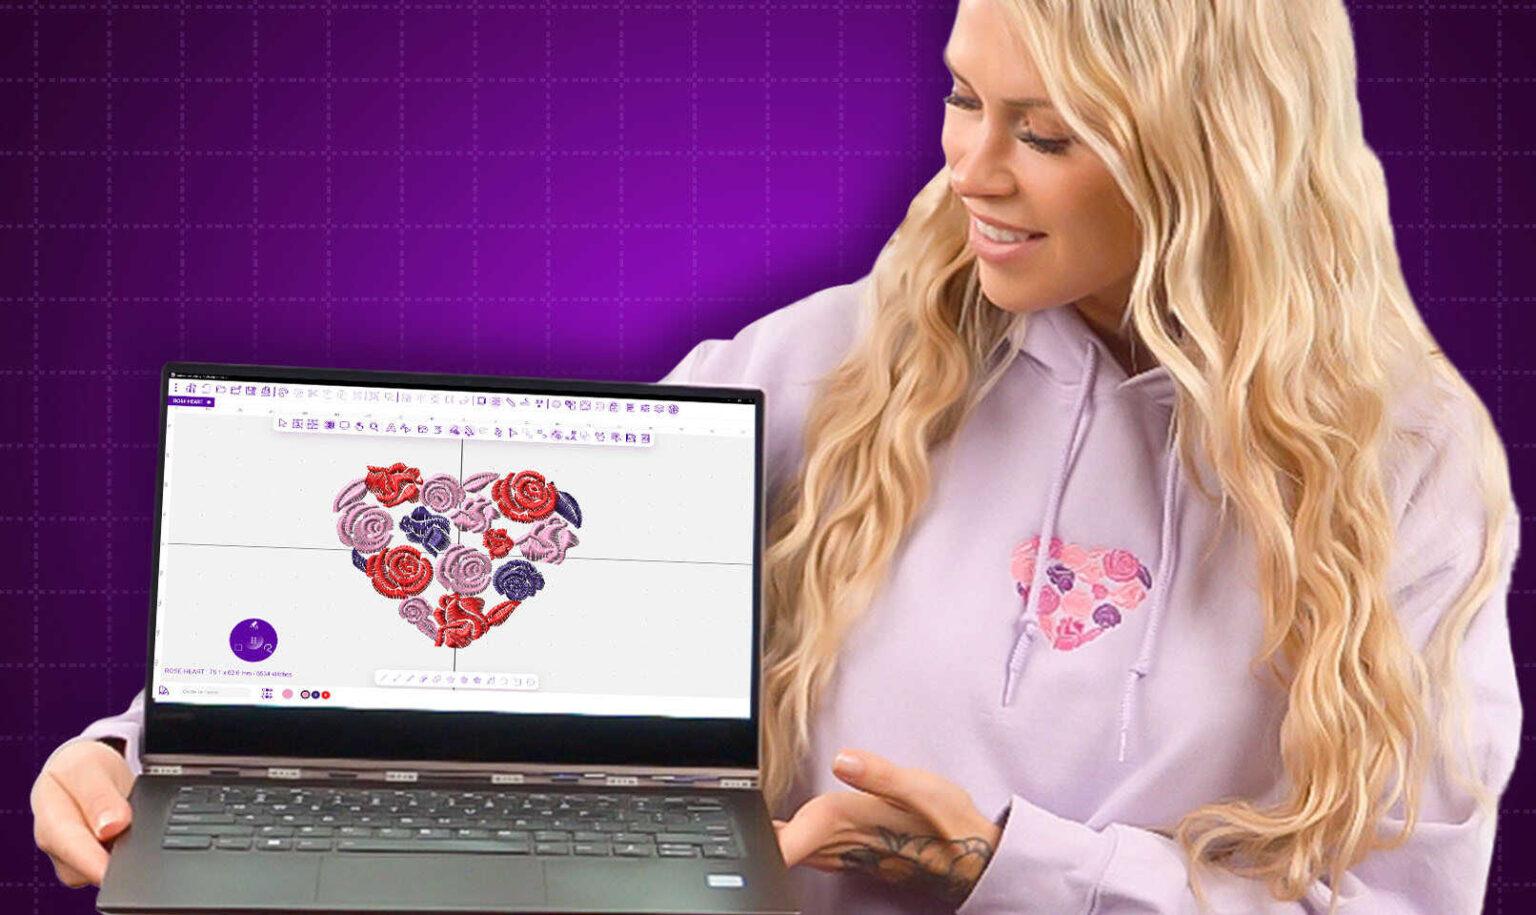
You have a Janome embroidery machine, a tool known for its precision and reliability. You also have an image—a logo, a piece of art, a custom graphic—that you’re ready to see transformed into stitches. But there’s a crucial step between that digital file and your physical hoop: your Janome machine doesn’t read pictures. It requires a specific set of instructions called a .JAN embroidery file. Learning how to Convert image to JAN Embroidery File is the essential skill that unlocks your machine’s full potential. It’s the process of translating visual information into a language of thread, and doing it correctly is the difference between a blurry, puckered mess and a crisp, professional emblem. This guide will walk you through the entire process, from preparing your artwork to the final, validating stitch-out.
The Core Truth: You Are Digitizing, Not Converting
First, let's clarify the task. You are not simply changing a file extension. A JPEG or PNG is a grid of pixels describing color and light. A JAN file is a complex set of coordinate-based commands telling the needle exactly where to go, when to trim, and what color thread to use.
This translation process is called digitizing. It's a skilled craft that blends art and engineering. Think of your image as a photograph of a house. The JAN file isn't another picture; it's the architect's detailed blueprint, electrical plans, and material list. A quick online "converter" just traces the photo. True digitizing builds the plans. For results worthy of your Janome, you need the plans.
Step 1: Preparing Your Image for Success
The journey to a perfect stitch begins with the quality of your source image. This step is non-negotiable.
1. Start with the Best Possible File:
-
Vector Files Are King: If you have access to the original vector artwork (
.AI,.EPS,.PDF,.SVG), use it. These formats use mathematical paths, not pixels, allowing for infinite scaling and razor-sharp edges. This is the single best thing you can do for quality. -
If You Only Have a Raster Image (JPG, PNG): You must use the highest resolution version available. A small, 72-DPI logo from a website will pixelate and blur when enlarged. Increase contrast and simplify the image by removing complex backgrounds.
2. Conduct a "Stitchability" Audit:
Look at your image with a critical eye:
-
Size & Detail: Are there elements too small to be stitched? Text under 0.25 inches tall will likely be unreadable.
-
Color Complexity: Can the color palette be simplified? Fewer thread changes mean a cleaner, faster sew-out.
-
Artistic Elements: How will gradients, shadows, or ultra-fine lines be interpreted in thread? They may need to be adapted.
Step 2: The Two Pathways to a JAN File
You have two main avenues: doing it yourself with software or partnering with a professional service.
Path A: Professional Digitizing Services (The Recommended Path for Quality)
For a business logo, team apparel, or any project where the result must be perfect, this is the most reliable route.
-
The Process: You provide your high-quality image to a service. A trained digitizer uses industrial software (like Wilcom Hatch) to manually create the stitch file. They engineer it for your specific garment, applying techniques you won't find in auto-converters.
-
Why It Wins: Professionals build in underlay (a foundational stitch layer that prevents puckering), apply pull compensation (so shapes sew out to the correct size), and optimize the stitch path for efficiency. You receive a ready-to-stitch, perfected .JAN file, often within 24 hours.
Path B: Using Janome Digitizing Software (The DIY Approach)
If you want to learn the craft, Janome offers its own ecosystem.
-
Software Options: Janome Digitizer, Artistic Digitizer, or Customizer software, depending on your machine model.
-
The Reality: There is a significant learning curve. The auto-digitize function is only a crude starting point. To achieve quality, you must learn to manually assign stitch types, set density, and—most importantly—apply underlay. This is a rewarding but time-intensive path.
The Pillars of a High-Quality JAN File
Whether you DIY or hire a pro, these are the non-negotiable elements that must be present in your digitized file for successful embroidery on your Janome:
-
Underlay: The Hidden Foundation. This is the #1 difference between amateur and professional files. Underlay is a series of stitches sewn before the top stitches. It stabilizes the fabric, prevents puckering, and provides a raised base for top stitches, giving a professional, dimensional look. Never skip this step.
-
Correct Stitch Type & Density:
-
Fill Stitches: For solid areas. Density must be matched to the fabric—lighter for stretchy knits to prevent stiffness, denser for stable fabrics like twill.
-
Satin Stitches (Column): For borders, text, and details. Width and density must be set to create a smooth, glossy finish without thread breaks.
-
Running Stitches: For fine details.
-
-
Pull Compensation: Fabric pulls under the tension of stitches. A digitized circle will sew out smaller. Pull compensation slightly widens shapes in the digital file so they stitch to their intended visual size. This is critical for logo integrity.
-
Logical Stitch Sequencing: The order in which the design is sewn should minimize thread trims and long jumps between sections. This creates a cleaner sew-out, reduces machine runtime, and lowers the chance of errors.
Step 3: The Non-Negotiable Test Sew
Your file is not complete until it has been physically validated. Never run a new, untested JAN file directly onto your final project.
-
The Protocol: Hoop a scrap piece of the exact fabric you'll use for the final item.
-
Use the Correct Stabilizer: This is as important as the file itself. For stretchy fabrics, use cut-away stabilizer. For stable wovens, tear-away is often suitable. Stabilizer is your machine's work surface.
-
Stitch, Observe, and Analyze: Run the file. Look for puckering, registration errors (colors not aligning), or thread breaks.
-
Iterate: If you see issues, adjustments are needed in the digitized file (density, underlay, etc.). A professional service will handle these revisions for you.
Why "Auto-Converters" Fail
Free online tools that promise "JPG to JAN" conversion are a major pitfall. They use primitive algorithms that:
-
Create excessively dense, stiff stitch fills.
-
Apply no underlay, guaranteeing puckering.
-
Ignore pull compensation, leading to distorted shapes.
-
Produce a chaotic, inefficient stitch path.
The resulting file, while it may have a .JAN extension, will produce low-quality, amateurish embroidery. It is not a viable path for any serious project.
Your Action Plan for Success
-
Prepare: Secure the best possible source file (vector preferred). Know your final size and garment type.
-
Choose Your Path: For guaranteed results, hire a professional digitizing service. Specify you need a ".JAN file for a Janome machine." To learn, invest in Janome software and prepare for a practice curve.
-
Digitize or Order: Create the file yourself or submit your order with clear specs.
-
Test: Always perform a rigorous test sew on scrap material before committing to your final fabric.
Conclusion: From Digital Vision to Embroidered Reality
Mastering how to Convert image to JAN Embroidery File is about embracing a disciplined, quality-focused process. It acknowledges that your Janome is a precision instrument that requires equally precise instructions. By starting with pristine artwork, leveraging professional digitizing expertise (whether your own or a service's), and validating your work with a rigorous test sew, you transform your image from a simple graphic into a durable, tactile asset.
Perfect embroidery communicates care and professionalism. By following this guide, you ensure your Janome machine is equipped to deliver exactly that, turning your creative vision into a flawlessly stitched reality. Your machine is ready; now you have the blueprint to guide it.

 English
 Arabic
 French
 Spanish
 Portuguese
 Deutsch
 Turkish
 Dutch
Dutch
 Russian
 Romaian
 Portuguese (Brazil)
 Greek
Greek