


 About Urh Social
 Terms of Service
 Privacy Policy
 Contact
How to Choose the Best Screen Recording Software for Everyday and Professional Use
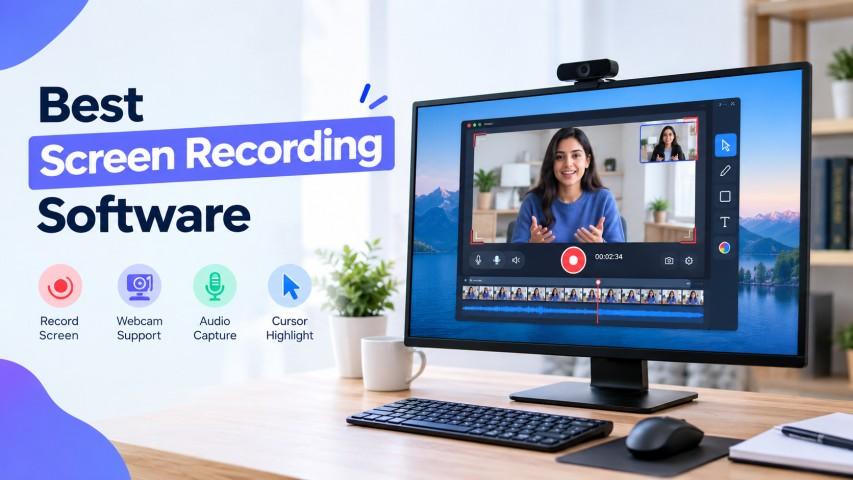
Recording your computer screen has become a useful part of everyday work, online learning, and digital content creation. Whether you want to explain a process, record a meeting, create a tutorial, or capture gameplay, the right screen recording software can make the task much easier. Instead of relying on written instructions alone, you can show every step through a clear video that viewers can replay whenever they need it.
However, choosing the right tool can be challenging because different applications offer different features, recording limits, and export options. Some users need a basic screen recorder for quick tasks, while others require advanced controls for professional videos. Understanding these differences will help you find software that matches your needs.
What Is Screen Recording Software?
Screen recording software captures activity on your computer display and saves it as a video file. Depending on the application, you may be able to record the entire screen, a selected window, or a specific area. Many tools also support microphone audio, system sounds, webcam footage, and basic editing.
For example, teachers can record lessons for students, businesses can document internal procedures, and content creators can produce software demonstrations. A good screen recorder helps communicate information visually and reduces the need for lengthy explanations.
Before selecting an application, consider how frequently you record, the video quality you need, and whether you plan to edit your recordings afterward.
Important Features to Look For
Not every recording tool offers the same capabilities. Reviewing a few essential features can help you avoid choosing an application that does not support your workflow.
1. Flexible Recording Options
Look for software that lets you capture the full display, a particular application window, or a custom region. Flexible recording options are especially useful when creating tutorials because you can focus viewers' attention on the relevant part of the screen.
2. Clear Audio and Video
Good recording quality makes tutorials and presentations easier to follow. Check whether the application supports microphone input, system audio, adjustable frame rates, and suitable video resolutions.
3. Editing and Annotation Tools
Some screen recording programs include trimming, text annotations, cursor highlighting, and other editing features. These tools can help remove unnecessary sections and make important actions easier to understand.
4. Watermark-Free Export
If you plan to publish videos on a website, social media account, or learning platform, a screen recorder without watermark may be preferable. Check the application's current free-plan restrictions because some tools limit recording time, editing features, or export quality unless you upgrade.
5. Easy File Sharing
Consider whether recordings can be exported in common video formats or shared through your preferred platform. Straightforward export options save time when delivering training materials, demonstrations, or project updates.
Popular Tools for Recording Your Screen
Different applications suit different recording needs. Here are a few options worth considering.
OBS Studio
OBS Studio is a popular choice for users who want detailed recording controls. The OBS screen recorder supports screen capture, multiple audio sources, scene layouts, and livestreaming. It is particularly useful for gaming videos, software tutorials, and more advanced recording setups.
Its extensive settings may take some time to learn, especially for beginners. However, users who need greater control over their recording environment may find the learning process worthwhile.
Windows Built-In Recording Options
Windows users may not need to install additional software for every recording task. Depending on the Windows version and application, built-in options such as Xbox Game Bar can capture supported applications and gameplay.
A built-in Windows screen recording tool is convenient for quick recordings, but it may not provide all the advanced features available in dedicated applications. Check whether your intended recording scenario is supported before relying on it.
Dedicated Screen Capture Applications
Other recording applications focus on ease of use, guided tutorials, webcam recording, or integrated editing. Some are designed for beginners, while others target businesses and professional content creators.
When comparing these tools, review their recording limits, watermark policies, audio support, editing options, and operating-system compatibility. The best choice depends on what you want to create rather than simply how many features the application offers.
How to Record Your Screen on Windows
If your main goal is to capture activity on a Windows computer, follow these general steps.
-
Choose your recording method: Decide whether a built-in feature or dedicated recording application best suits your task.
-
Select the capture area: Choose the full screen, a supported application window, or a specific region.
-
Configure audio: Enable your microphone or system audio if your video requires sound.
-
Check the settings: Confirm the output location, video quality, and file format before recording.
-
Start recording: Perform the actions you want to demonstrate, keeping the cursor movements clear and avoiding unnecessary pauses.
-
Review the result: Play the saved video to check its sound, picture quality, and completeness.
These steps provide a useful starting point for screen capture for Windows, whether you are preparing a quick demonstration or recording a longer tutorial.
Common Mistakes to Avoid
Even reliable recording software can produce disappointing results when the setup is not prepared properly. A few simple precautions can improve the final video.
-
Ignoring background noise: Test your microphone and choose a quiet environment when recording narration.
-
Recording unnecessary content: Close unrelated windows and notifications to keep the video focused.
-
Using unsuitable settings: Choose a resolution and frame rate appropriate for the content and your computer's capabilities.
-
Forgetting storage space: Long recordings and high-resolution videos can consume considerable disk space.
-
Skipping the final review: Watch the exported file before sharing it to identify missing audio, incomplete steps, or other problems.
-
Overlooking licensing and privacy: Make sure you have permission to record or share meetings, private information, and third-party content when required.
Preparing your setup before pressing the record button can save time and reduce the need to repeat an entire session.
How to Choose the Right Screen Recorder
The ideal application depends on your experience level and intended use. Beginners may prefer a simple interface with straightforward recording controls. Educators and business users may prioritize narration, annotations, and easy sharing. Gamers and advanced creators may need higher frame rates, multiple audio sources, and greater control over video settings.
If you frequently create tutorials, consider whether editing tools are included or whether you will need separate video-editing software. If you only need occasional recordings, a built-in Windows option may be enough.
It is also worth testing a short sample before committing to a tool. This helps you evaluate performance, audio quality, export settings, and usability with your actual computer and recording environment.
Conclusion
Choosing the right screen recording software can make it easier to explain ideas, document workflows, and create engaging video content. From a simple screen recorder for occasional tasks to advanced screen capture and recording software for tutorials or livestreams, there are options for different budgets and skill levels.
Compare the available features carefully, paying attention to recording quality, audio support, watermark restrictions, editing capabilities, and compatibility. Whether you choose OBS Studio, a built-in Windows feature, or another application, testing the tool with a short recording is a practical way to determine whether it meets your needs.
With a suitable setup and a little preparation, you can create clear, useful recordings for work, education, and personal projects.

 English
 Arabic
 French
 Spanish
 Portuguese
 Deutsch
 Turkish
 Italiano
 Russian
 Romaian
 Portuguese (Brazil)
 Greek
Greek