


 About Urh Social
 Terms of Service
 Privacy Policy
 Contact
Understanding Push and Pull Compensation in Embroidery Digitizing
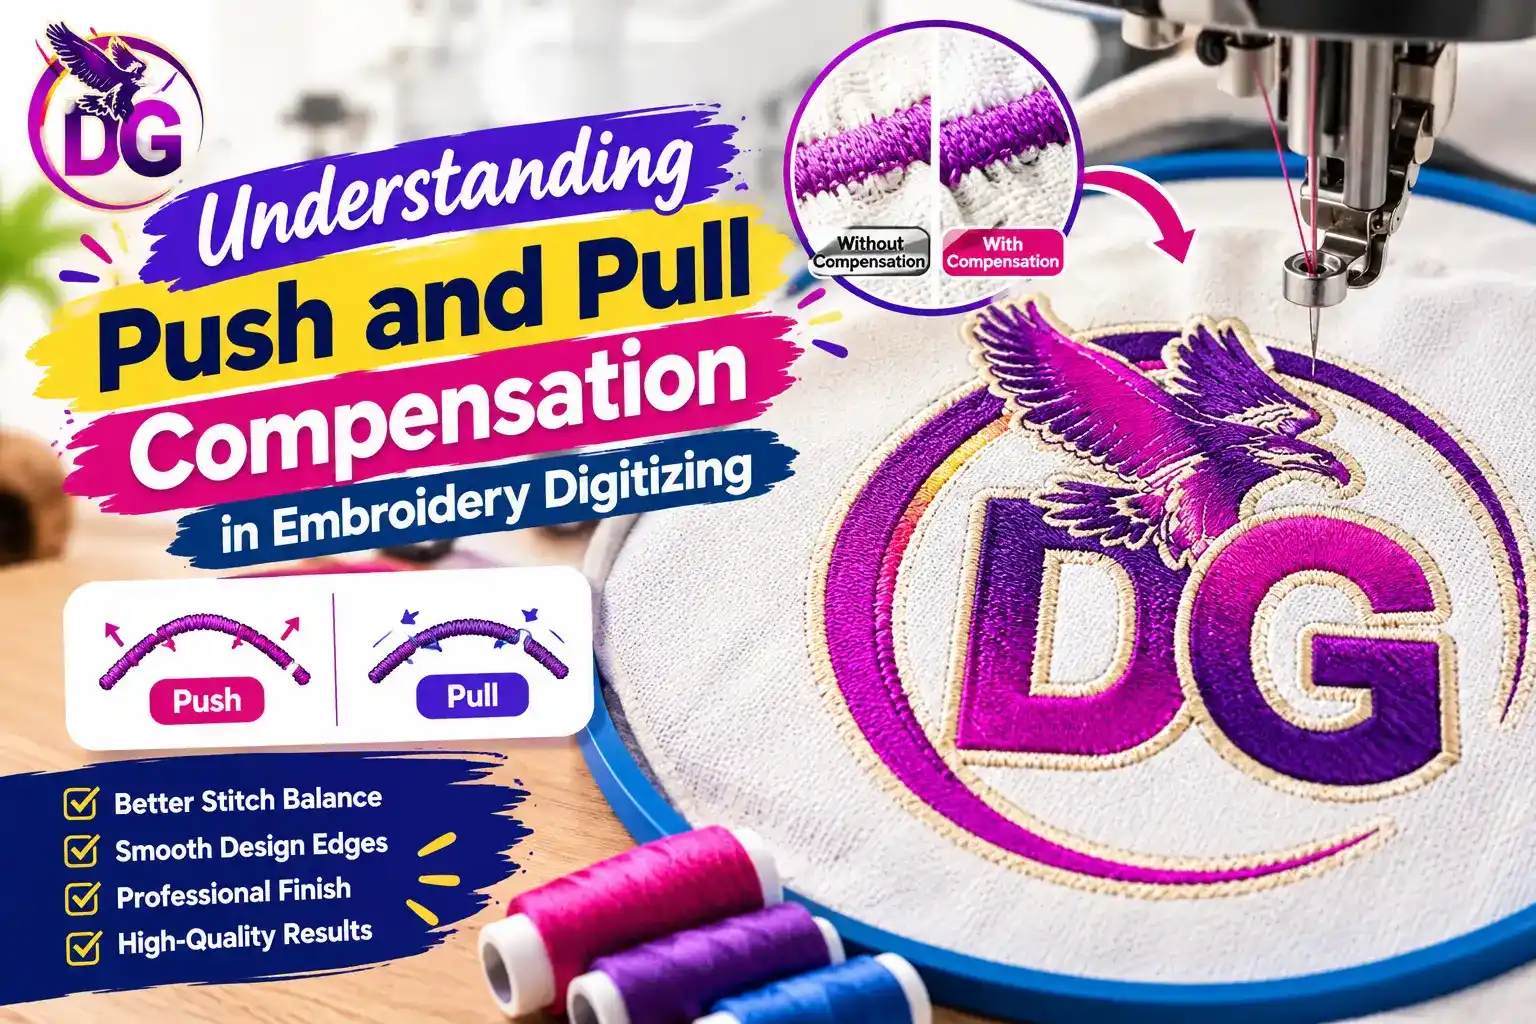
Embroidery digitizing is more than converting an image into stitches. A good embroidery file must also account for how fabric and thread behave during stitching.
One important part of professional digitizing is push and pull compensation. These settings help reduce gaps, shape changes, and other problems that can appear when a design is embroidered.
When stitches are placed into fabric, they create movement. Some areas may shift, while other areas can become wider or narrower. This means a design that looks perfect on a computer screen may look slightly different after stitching.
Push and pull compensation helps the digitizer prepare the design for these changes.
In this guide, we will explain what push and pull compensation means, why it matters, how it works, and how beginners can use it correctly.
What Is Push and Pull Compensation in Embroidery?
Push and pull compensation is a embroidery digitizing technique used to account for fabric movement during embroidery.
When an embroidery machine stitches a design, the fabric can move because of needle penetration and thread tension.
This movement can change the shape of embroidery objects.
Compensation adds small adjustments to the design so the final stitched result is closer to the intended shape.
It is especially important when working with:
- Small lettering
- Satin stitches
- Large fill areas
- Detailed logos
- Stretch fabrics
- Lightweight materials
- Designs with multiple layers
Why Does Push and Pull Happen?
Embroidery creates physical forces.
Every time the needle enters the fabric, it places thread into the material. As more stitches are added, the fabric and thread interact with each other.
The result can include slight movement or distortion.
There are two common effects to understand:
- Push
- Pull
They can occur at different points in the design.
Understanding both effects helps you create more reliable embroidery files.
What Is Push in Embroidery Digitizing?
Push happens when stitches cause an embroidery area to move outward.
As stitches are added, they can push nearby fabric or embroidery objects.
This may cause an object to become slightly wider or change its shape.
For example, a filled embroidery area may expand slightly as it is stitched.
If this movement is not considered, the final design may not match the original artwork.
Common Signs of Push
Push can sometimes appear as:
- Wider embroidery areas
- Distorted shapes
- Objects becoming larger
- Reduced spacing between objects
- Changes in small details
The amount of push can vary depending on the design and fabric.
What Is Pull in Embroidery Digitizing?
Pull is the opposite type of movement.
When stitches pull the fabric inward, some parts of the design can become narrower.
Dense embroidery can create significant tension in certain areas.
For example, a satin-stitched letter may become narrower after stitching because the stitches pull the fabric toward the center.
Without compensation, gaps can appear between objects.
Common Signs of Pull
Pull can cause:
- Narrower shapes
- Gaps between objects
- Distorted lettering
- Small openings
- Uneven borders
- Changes in design proportions
Pull is often noticeable in small lettering and satin-stitched objects.
Push vs Pull Compensation
Push and pull are related, but they describe different types of movement.
| Feature | Push | Pull |
|---|---|---|
| Movement | Material or stitches move outward | Material is pulled inward |
| Common effect | Object becomes wider | Object becomes narrower |
| Possible problem | Shape expansion | Gaps or reduced width |
| Common areas | Large fills and dense designs | Satin stitches and small objects |
| Compensation | May require controlled overlap or size adjustment | May require extra width or overlap |
The exact adjustment depends on the design, fabric, stitch type, and embroidery machine.
Why Is Compensation Important?
Without proper compensation, embroidery can look different from the original artwork.
A design may appear correct on a computer but change when it is stitched.
Improves Design Accuracy
Compensation helps maintain the intended shape of embroidery objects.
Reduces Gaps
Proper adjustments can reduce unwanted spaces between embroidery areas.
Improves Lettering
Small letters can be especially sensitive to pull.
Compensation can help keep lettering readable.
Helps With Different Fabrics
Some fabrics move more than others.
Compensation can be adjusted according to the material.
Creates More Consistent Results
Good compensation can help produce more predictable embroidery across different designs.
Where Is Push and Pull Compensation Most Important?
Not every embroidery object needs the same level of compensation.
Some areas need more attention than others.
Small Lettering
Small text can be difficult to embroider.
The letters have very little space for movement. Even a small change can affect readability.
Digitizers may need to increase the width of certain areas or adjust the design structure.
Satin Stitch Objects
Satin stitches are often affected by pull.
Long stitches can create tension across an object.
This can cause narrow shapes to become smaller after stitching.
Large Fill Areas
Large fill areas can create fabric movement.
They may need suitable underlay, density, and compensation.
Stretch Fabrics
Stretch fabrics can move more during embroidery.
T-shirts and other flexible materials often require careful stabilization and digitizing.
Detailed Logos
Logos with many small sections can be sensitive to movement.
Proper overlaps and compensation can help maintain the relationship between objects.
How Push and Pull Compensation Works
Compensation does not simply mean adding extra stitches everywhere.
It usually involves changing the embroidery object's dimensions or structure.
For example, a digitizer may slightly extend an object so that the final stitched result reaches the intended size.
Another common technique is to overlap neighboring objects.
This can help prevent gaps caused by fabric movement.
The correct approach depends on the design.
Pull Compensation and Underlay
Underlay and pull compensation often work together.
Underlay creates a foundation below the top stitches.
It can help stabilize the fabric and provide support for the embroidery.
However, underlay does not replace pull compensation.
A design may need both.
How Underlay Helps
Suitable underlay can:
- Stabilize fabric
- Support top stitches
- Improve coverage
- Reduce movement
- Create a stronger foundation
The amount and type of underlay depend on the object and fabric.
How Stitch Density Affects Compensation
Stitch density can have a major effect on push and pull.
High density means more stitches are placed into a given area.
This can increase tension and fabric movement.
Low density may reduce tension but can result in poor coverage.
The goal is to use suitable density for the design and material.
Do not simply increase density to make an embroidery design look better.
How Fabric Affects Push and Pull
Fabric is one of the most important factors.
Different materials react differently to embroidery.
Cotton
Cotton is commonly used for embroidery and can provide a relatively stable surface.
However, stabilization and compensation are still important.
T-Shirts
T-shirts are often flexible.
They can stretch during stitching, which may increase distortion.
Denim
Denim is generally more stable than lightweight fabrics.
Still, dense designs can create tension.
Caps
Caps have a curved surface.
Design placement, stitch direction, and sequencing can affect the final result.
Towels
Towels have a textured surface.
Dense stitching and small details may require special attention.
How to Add Pull Compensation in Digitizing Software
The exact process depends on your embroidery software.
Most professional programs provide settings that allow you to adjust object width or dimensions.
A simple workflow is:
Step 1: Create the Object
Digitize the object using the appropriate stitch type.
Step 2: Check the Object Width
Look at the expected final embroidery size.
Consider how the stitches may affect the shape.
Step 3: Add Suitable Compensation
Adjust the object width or apply the software's compensation setting.
Step 4: Check Overlaps
Make sure neighboring objects overlap where necessary.
Step 5: Review Density
Check whether the object has too many or too few stitches.
Step 6: Preview the Design
Use the embroidery simulator to review the result.
Step 7: Test Stitch
Stitch the design on the intended fabric.
Use the test result to make further adjustments.
Common Push and Pull Compensation Mistakes
Beginners often make compensation mistakes because they try to apply one setting to every design.
Adding Too Much Compensation
Too much compensation can make objects look oversized.
It can also create excessive overlaps.
Using the Same Setting Everywhere
Different objects behave differently.
A small satin letter may need different treatment from a large fill area.
Ignoring Fabric
Compensation should be considered together with the fabric.
A stretchy material may require different adjustments from stable fabric.
Ignoring Stitch Density
High density can increase fabric tension.
Always review density before deciding how much compensation is needed.
Skipping Test Stitching
A screen preview cannot show every physical effect.
Test stitching is one of the best ways to evaluate compensation.
How Beginners Can Learn Push and Pull Compensation
The best way to learn is through simple practice.
Start with basic shapes.
Create the same design with different compensation settings. Then stitch each version on the same fabric.
Compare the best results.
Look for changes in:
- Width
- Height
- Shape
- Gaps
- Borders
- Letter readability
This exercise can help you understand how compensation affects actual embroidery.
Tips for Better Push and Pull Compensation
Use these simple tips when digitizing:
- Consider the fabric before digitizing.
- Use suitable stitch density.
- Choose the right underlay.
- Avoid unnecessary stitches.
- Check object overlaps.
- Pay special attention to small lettering.
- Review satin stitch widths.
- Consider stitch direction.
- Preview the stitch sequence.
- Test important designs.
- Make small adjustments instead of large changes.
Good compensation usually comes from several small design decisions working together.
Push and Pull Compensation for Small Logos
Small logos need careful attention.
When a logo is reduced, small gaps and shape changes become more noticeable.
A digitizer may need to simplify the artwork before applying compensation.
For example, very thin lines may need to become slightly wider. Tiny spaces may need to be removed.
The goal is to create embroidery that remains clear at the final production size.
Push and Pull Compensation for Large Designs
Large embroidery designs can also experience significant movement.
Large fill areas may create more fabric tension.
The digitizer may need to consider:
- Stitch direction
- Density
- Underlay
- Object order
- Overlaps
- Compensation
Breaking a large design into well-planned objects can help control these effects.
Does Every Embroidery Design Need Compensation?
Most embroidery designs need some consideration of fabric and stitch movement.
However, the amount of compensation required varies.
Simple designs may need very little adjustment.
Complex designs may require much more careful planning.
Compensation should be based on the actual design rather than applied as a fixed rule.
The Role of Experience in Compensation
Software settings can help, but experience is also important.
An experienced digitizer learns how different fabrics and stitch types behave.
They can often identify potential problems before the design is stitched.
They also understand that compensation works together with:
- Density
- Underlay
- Stitch direction
- Fabric
- Thread
- Design size
- Sequencing
This broader understanding helps create better embroidery files.
About Digitizings
Digitizings provides professional embroidery digitizing and vector art services for businesses, apparel brands, embroidery shops, and individuals.
The service can convert logos, artwork, lettering, and other designs into embroidery-ready files.
Digitizings offers custom embroidery digitizing, logo digitizing, 3D puff digitizing, cap and hat digitizing, applique digitizing, patch digitizing, monogram digitizing, jacket-back digitizing, and other embroidery services.
For complex designs where compensation, density, sequencing, and fabric behavior need careful attention, professional digitizing can provide a practical solution.
Conclusion
Push and pull compensation is an important part of embroidery digitizing.
Embroidery stitches can move fabric and change the shape of a design. Pull can make objects narrower, while push can cause areas to move outward or change shape.
Proper compensation helps the final embroidery stay closer to the intended design.
However, compensation should not be treated as a single setting that works for every project. Fabric, stitch type, density, underlay, design size, and sequencing all affect the result.
The best way to learn is to practice. Create simple designs, test different settings, and compare the results on real fabric.
With experience, you can learn to predict how stitches will behave and make better adjustments before production.
FAQs
1. What is push and pull compensation in embroidery digitizing?
Push and pull compensation is a technique used to account for fabric and stitch movement during embroidery. It helps reduce shape changes and unwanted gaps.
2. What causes pull in embroidery?
Pull can occur when embroidery stitches create tension and draw fabric inward. Dense stitching and satin stitches can make this effect more noticeable.
3. What causes push in embroidery?
Push can occur when stitches cause fabric or nearby embroidery areas to move outward. Large and dense fill areas can sometimes show this effect.
4. Does stitch density affect push and pull?
Yes. Stitch density can affect fabric tension and movement. Excessive density can increase stress on the fabric and may require different digitizing adjustments.
5. How can I improve push and pull compensation?
Start by learning how fabric, stitch types, density, underlay, and stitch direction affect embroidery. Then test your designs on the intended fabric and adjust the file based on the results.

 English
 Arabic
 French
 Spanish
 Portuguese
 Deutsch
 Turkish
 Italiano
 Russian
 Romaian
 Portuguese (Brazil)
 Greek
Greek