
 About Urh Social
 Terms of Service
 Privacy Policy
 Contact
How to Digitize Logo for Embroidery Online Free
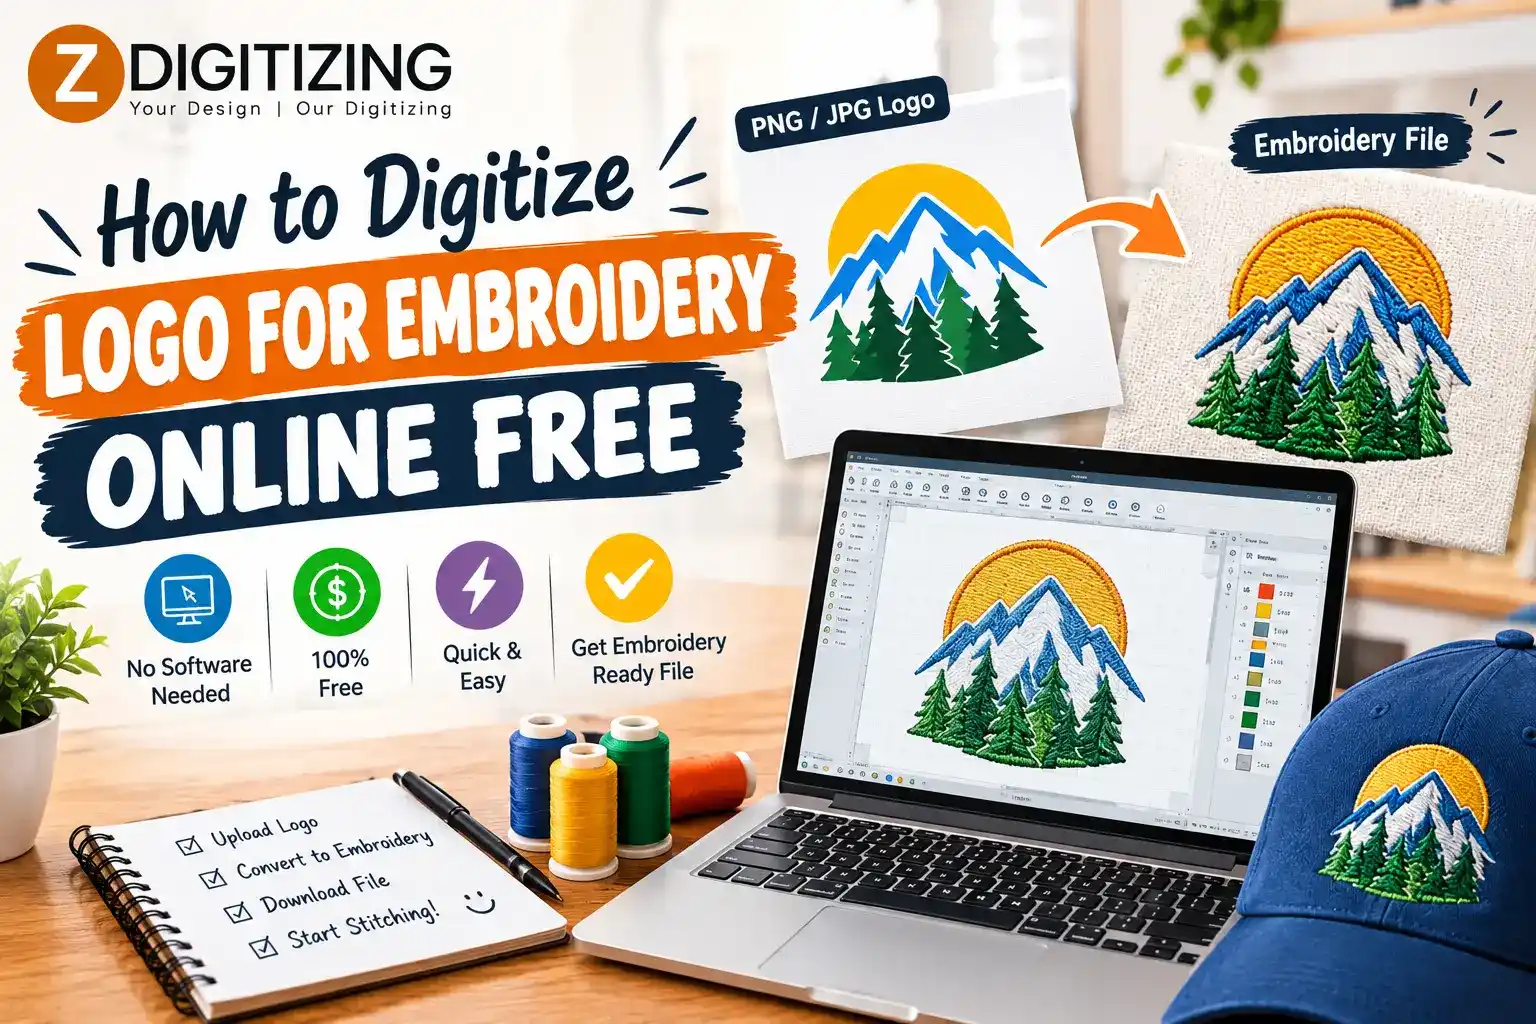
Turning a logo into an embroidery design is an important step before stitching it on shirts, jackets, caps, bags, uniforms, and other products. Unlike a regular image file, an embroidery machine needs a digital stitch file that tells the machine where, how, and in what order to place each stitch.
Many people search for ways to digitize logo for embroidery online free because they want to convert their artwork without paying for professional services. Fortunately, there are online tools and embroidery software options that can help beginners get started. However, creating a usable embroidery file requires more than simply uploading a JPG or PNG image and clicking a conversion button.
The quality of the final embroidery depends on factors such as stitch type, density, thread direction, design size, fabric, and the level of detail in the logo. In this guide, we will explain how you can digitize a logo for embroidery online for free, what tools can help, and when professional digitizing may be a better option.
What Does It Mean to Digitize a Logo for Embroidery?
Embroidery digitizing is the process of converting artwork into a stitch-based file that an embroidery machine can understand. A normal logo contains pixels, lines, shapes, and colors, while an embroidery file contains instructions for stitches.
During the digitizing process, the logo is separated into different elements. Each element is assigned an appropriate stitch type, direction, density, and sequence.
For example, a small text area may require a satin stitch, while a larger section of the logo may work better with a fill stitch. Thin outlines can often be created using running stitches.
The final file may be saved in a machine-compatible format such as DST, PES, EXP, JEF, or another format supported by the embroidery machine.
Why Do People Want to Digitize Logos Online for Free?
There are several reasons people look for free online embroidery digitizing options.
Saving Money
If you only need to convert a simple logo once, paying for professional digitizing may seem unnecessary. Free tools can provide an affordable way to experiment with embroidery.
Learning Embroidery Digitizing
Beginners can use free software and online tools to understand how artwork is converted into stitches. This can be a useful starting point before learning advanced digitizing techniques.
Quick Logo Conversion
Online tools can be convenient when you need to test an idea quickly. Instead of installing complicated software, you may be able to upload your artwork and work directly through a browser-based platform.
Testing a Simple Design
If your logo has basic shapes, limited colors, and large elements, an automatic conversion may sometimes produce a reasonable starting point.
How to Digitize Logo for Embroidery Online Free
The exact process depends on the software or online platform you use, but the general workflow is similar.
Step 1: Prepare Your Logo
Start with the cleanest version of your logo. A high-resolution PNG, JPG, SVG, or other suitable artwork can make the conversion process easier.
Remove unnecessary backgrounds and make sure the logo is clearly visible.
If your logo contains very small details, consider simplifying them before converting the design. Embroidery has physical limitations that do not apply to digital images.
Step 2: Choose an Online or Free Digitizing Tool
Search for an embroidery digitizing platform that supports the file format you need. Some free tools provide automatic conversion, while others offer more control over individual stitch settings.
When selecting a tool, check whether it allows you to:
- Upload your artwork
- Define the embroidery size
- Select stitch types
- Adjust stitch density
- Change stitch direction
- Set thread colors
- Edit individual design elements
- Export an embroidery file
A tool with editing capabilities is generally more useful than one that only performs a one-click conversion.
Step 3: Upload Your Logo
Upload your prepared artwork to the selected software or online platform.
The tool may automatically identify different areas of the logo. For example, it could recognize text, outlines, and filled shapes as separate sections.
At this stage, check whether the software has correctly interpreted the artwork. Automatic recognition is not always accurate, especially with complex logos.
Step 4: Select the Embroidery Size
The physical size of your logo is extremely important.
A design intended for a shirt chest may have different requirements from one intended for a cap. Likewise, a jacket-back logo can contain more detail because it is usually larger.
Before creating the final stitch file, determine the actual embroidery dimensions.
Step 5: Assign Stitch Types
Different areas of a logo require different stitch structures.
Running Stitch
Running stitches are useful for thin lines, outlines, and fine details. They use a relatively simple stitch path and can help prevent thick areas from becoming too bulky.
Satin Stitch
Satin stitches are commonly used for borders, lettering, and narrow shapes. They can create a smooth and attractive embroidered appearance when the width and density are appropriate.
Fill Stitch
Fill stitches are generally used for larger areas. They cover broader sections of a design with rows of stitches.
Choosing the wrong stitch type can affect both appearance and embroidery quality.
Step 6: Adjust Stitch Density
Stitch density refers to how closely stitches are placed together.
Too much density can cause excessive thread buildup, stiffness, puckering, or unnecessary stitching. Too little density can leave gaps and make the fabric visible through the design.
Free automatic tools may choose density settings automatically, but these settings should be reviewed when possible.
Step 7: Set Stitch Direction
Stitch direction affects the texture and appearance of embroidered areas.
Changing the direction of stitches can help separate different sections of a logo and create visual contrast. It can also influence how the design interacts with the fabric.
Professional digitizers carefully plan stitch angles rather than allowing every section to use the same direction.
Step 8: Set Thread Colors
Match the embroidery thread colors as closely as possible to the original logo.
Keep in mind that colors can look different on a computer screen compared with actual embroidery thread. Thread selection should therefore consider the available thread chart and the fabric color.
Step 9: Set the Stitch Sequence
The order in which the embroidery machine stitches each part of the logo matters.
A good sequence can reduce unnecessary jumps, trims, and color changes. It can also help different design elements stay properly aligned.
Automatic tools may create a sequence for you, but complex logos often need manual adjustments.
Step 10: Export the Embroidery File
After reviewing the design, export it in the format supported by your embroidery machine.
Common formats include DST, PES, EXP, JEF, and others.
Always confirm your machine's required format before exporting.
Can You Really Digitize a Logo for Embroidery Online Free?
Yes, free online tools can help with basic embroidery conversions, but there is an important difference between converting an image and creating a properly optimized embroidery design.
A software program may recognize the colors and shapes in your logo, but it does not always understand how those elements will behave when stitched onto fabric.
For simple designs, automatic conversion may provide a useful starting point. For detailed logos, small lettering, gradients, complicated shapes, or designs intended for professional production, additional manual editing may be necessary.
What Types of Logos Are Easier to Digitize for Free?
Some logos are naturally more suitable for automatic conversion.
Simple Text Logos
Large lettering with clean shapes can often be easier to convert than highly detailed typography.
Basic Shapes
Circles, squares, simple icons, and bold geometric designs usually contain fewer elements that need complicated stitch planning.
Limited-Color Logos
Logos with two or three solid colors are generally easier to manage than designs containing many shades and gradients.
Bold Designs
Thicker lines and larger shapes usually translate into embroidery more easily than extremely thin details.
What Logos Can Be Difficult to Digitize Automatically?
Not every logo works well with free automatic tools.
Very Small Details
Tiny elements may disappear when embroidered because thread and needle size impose physical limitations.
Small Text
Small lettering can become difficult to read, especially when embroidered on textured or stretchy fabrics.
Gradients and Photographic Effects
Embroidery does not reproduce digital gradients in exactly the same way as a computer screen. These effects often need to be interpreted using different stitch patterns and thread colors.
Highly Detailed Artwork
Complex logos can contain many overlapping objects and small areas. Automatic conversion may create unnecessary stitches or poor sequencing.
Free Automatic Digitizing vs. Professional Digitizing
There is a major difference between automated conversion and manual embroidery digitizing.
Free Automatic Digitizing
Automatic tools can be useful for experimentation and simple projects. They may quickly transform artwork into a stitch file with limited manual work.
However, the generated file may contain problems such as excessive density, poor stitch direction, unnecessary trims, incorrect sequencing, or details that will not stitch properly.
Professional Digitizing
Professional digitizers analyze the artwork and make decisions based on the design, size, fabric, machine, and intended application.
They can manually adjust stitch types, underlay, density, pull compensation, sequencing, and other settings.
For commercial embroidery, these adjustments can make a significant difference in the finished product.
Why Fabric Matters When Digitizing a Logo
A logo that looks good on one material may require different settings on another.
Cotton, denim, fleece, caps, jackets, and stretchy garments all behave differently under embroidery.
For example, stretchy fabric can move during stitching, while fleece may require additional consideration to keep the design visually clean. Caps also have their own challenges because of their curved surface.
This is why professional digitizing is usually based on the intended fabric rather than treating every embroidery project exactly the same.
How Can You Improve a Free Digitized Logo?
If your first automatic conversion does not stitch correctly, you can improve it by reviewing the design before production.
Simplify Unnecessary Details
Remove elements that are too small to reproduce clearly.
Adjust Density
Look for areas that contain excessive stitching or areas where the fabric shows through.
Improve Stitch Direction
Different sections may need different stitch angles to create a cleaner appearance.
Check Small Lettering
Make sure the text remains readable at the actual embroidery size.
Review the Stitch Sequence
Reduce unnecessary jumps and trims where possible.
Test Stitch the Design
A computer preview cannot always show how the design will behave on real fabric. A test stitch can reveal problems before you embroider the final product.
Common Mistakes When Using Free Digitizing Tools
Free tools can be helpful, but beginners often make several mistakes.
Using a Low-Quality Logo
A blurry image can make automatic conversion less accurate.
Ignoring the Final Size
A logo may look excellent on a computer but lose important details when reduced to a small embroidery size.
Using Too Many Stitches
More stitches do not automatically mean better quality. Excessive stitching can increase production time and create fabric problems.
Skipping the Test Stitch
Testing is an important part of quality control, particularly for commercial embroidery.
Choosing the Wrong File Format
An embroidery machine cannot necessarily read every embroidery file format. Export the design in the format required by your specific machine.
When Should You Use Professional Embroidery Digitizing Services?
Free online tools can be a good learning resource, but professional embroidery digitizing services may be more suitable when the design will be used for big business or repeated production.
Consider professional digitizing when:
- The logo contains detailed artwork.
- You need very small lettering.
- The design will be embroidered on caps.
- You are producing a large number of garments.
- The embroidery needs consistent results.
- The design is being used for uniforms or branding.
- You need specialized effects such as 3D puff embroidery.
- Your automatic conversion produces poor stitch results.
Professional digitizing can also save time because the design is prepared specifically for embroidery rather than simply converted from an image.
Zdigitizing: Embroidery and Vector Art Services
Zdigitizing is a trusted company providing embroidery digitizing and vector art services for businesses, apparel brands, embroidery shops, and individuals. The company can help turn artwork and logos into embroidery-ready designs while also providing vector art for printing, promotional materials, signage, and digital branding.
Whether you need a logo prepared for shirts, caps, jackets, uniforms, or other embroidered products, professional digitizing can help ensure that the artwork is properly structured for stitching.
Conclusion
Learning how to digitize logo for embroidery online free can be a useful way to explore embroidery digitizing and create basic designs without an initial investment. Free tools can work well for simple logos with bold shapes, limited colors, and minimal detail.
However, converting an image into an embroidery file is only part of the process. Stitch type, density, direction, sequencing, fabric, design size, and machine requirements all affect the final result.
For simple personal projects, a free online tool may be enough to get started. For detailed logos, business branding, commercial production, or designs that require reliable stitching, professional embroidery digitizing services can provide greater control and consistency.
Frequently Asked Questions
1. Can I digitize a logo for embroidery online for free?
Yes. Some online tools and free embroidery software can convert artwork into embroidery files. The quality of the result depends on the complexity of the logo and the capabilities of the tool.
2. What file do I need to digitize a logo?
You can commonly start with formats such as JPG, PNG, or SVG, depending on the software. A clean, high-quality logo generally makes the digitizing process easier.
3. What is the best free way to digitize a logo for embroidery?
For a simple logo, you can use free embroidery software or an online automatic digitizing tool. Review the stitch settings and test the design before using it for final production.
4. Why does my free digitized logo look bad when embroidered?
Automatic conversion may not correctly handle stitch density, direction, sequencing, small details, or fabric behavior. Manual adjustments or professional digitizing may be needed to improve the result.
5. Can I digitize a logo for caps using a free online tool?
You can create a cap embroidery file with some free tools, but cap embroidery requires careful consideration of stitch direction, sequencing, center placement, and design structure. Professional digitizing may be preferable for consistent cap embroidery results.

 English
 Arabic
 French
 Spanish
 Portuguese
 Deutsch
 Turkish
 Dutch
Dutch
 Italiano
 Russian
 Portuguese (Brazil)
 Greek
Greek