


 About Urh Social
 Terms of Service
 Privacy Policy
 Contact
Planning a Campervan Conversion? Get the Layout Right Before You Touch Paint
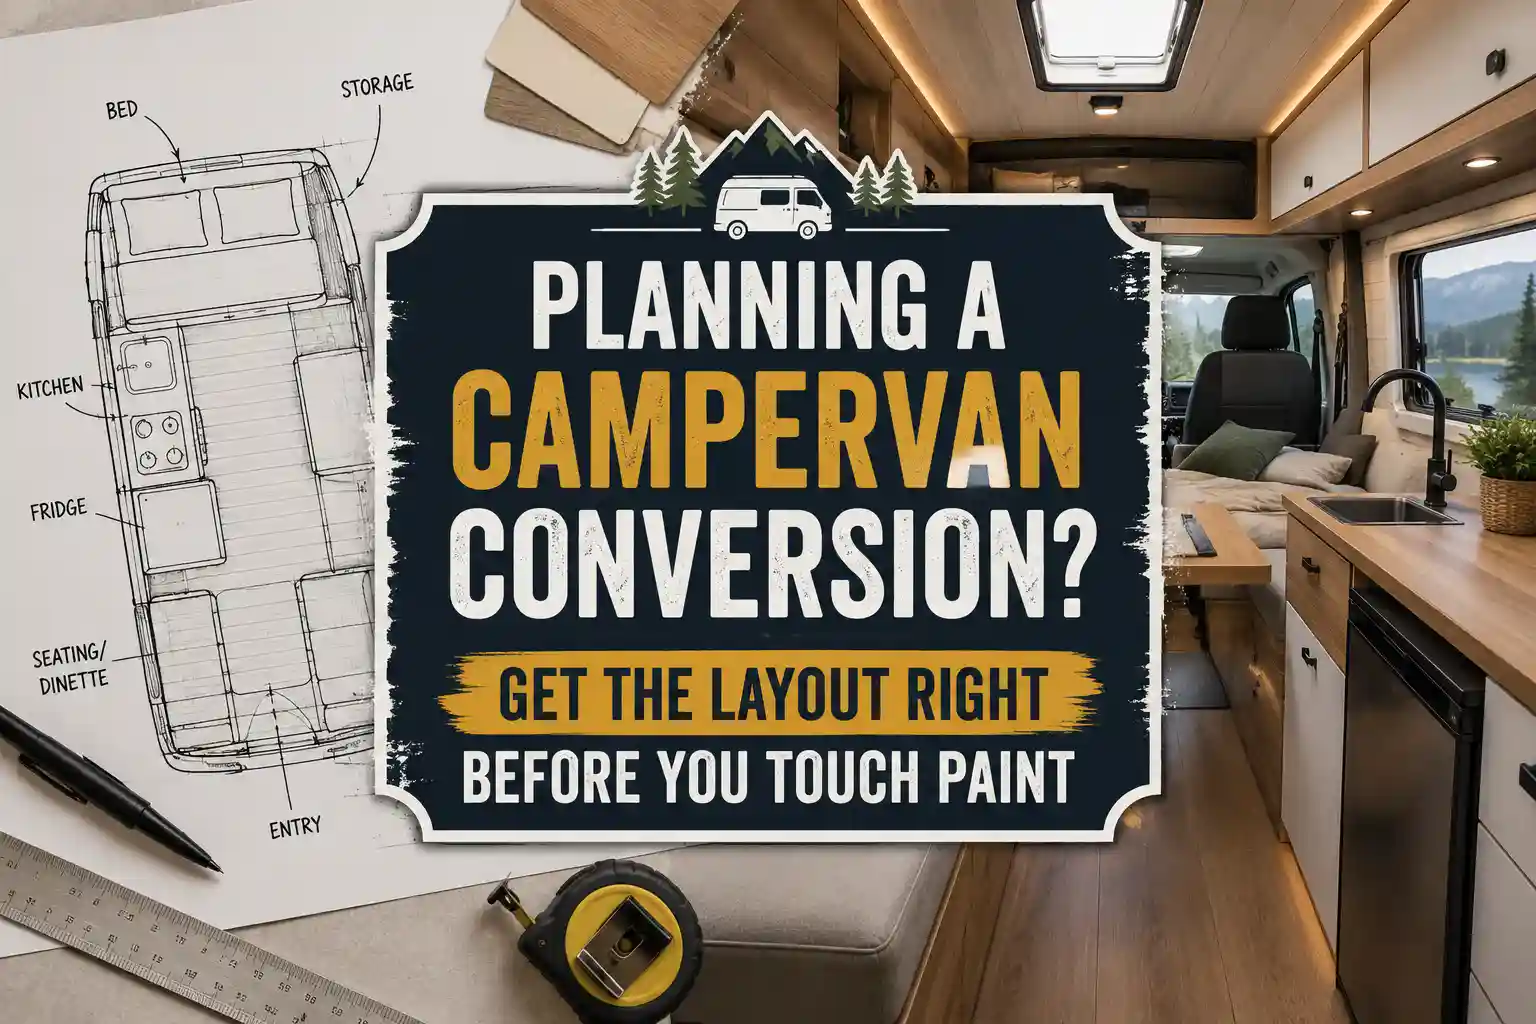
Every van build video online starts the same way: someone ripping out the old interior, then jumping straight to the fun part, picking finishes, choosing a color palette, hanging string lights. It looks great in a ten-minute recap. It's also, more often than not, the reason so many first-time conversions end up feeling cramped, poorly lit, or awkward to actually live in. Layout has to come first. Color and finish decisions only work when the bones underneath them are right.
This isn't a knock on caring about aesthetics early. It's more that a campervan is one of the few living spaces where every square foot has to earn its place, and that changes the order operations should happen in.
Start with how you'll actually use the space, not how it will look
Before any cabinetry gets drawn up, it helps to walk through a normal day in the van, mentally, step by step. Where do you cook. Where do you sit down to eat if it's raining. Where does wet gear go so it's not touching the bed. Where's the trash. These questions sound basic, but they're the ones that get skipped when people design from Pinterest boards instead of from routine.
A few layout principles that consistently hold up across different van sizes:
-
Keep the "wet zone" separate from sleeping and storage. Kitchen and any shower or sink setup should be contained so moisture and smells don't migrate into fabric-heavy areas.
-
Design the bed platform around storage access, not the other way around. Garage-style storage underneath only works if you're not shifting a mattress and bedding every time you need a tool or a jacket.
-
Leave a clear standing or pivoting zone. Even a small van needs one spot where you can turn around without climbing over something.
-
Plan electrical and plumbing runs before cabinetry, not after. Retrofitting wiring behind finished panels is one of the most common regrets in DIY builds.
Weight and balance matter more than most people expect
A campervan isn't a house on wheels in the structural sense, it's a vehicle first, and heavy elements placed too far back or too high change how it drives. Water tanks, batteries, and heavier cabinetry generally belong low and centered over the axle. This is a layout decision, not a finishing decision, and it's much harder to fix after the interior is built out.
Light comes from windows and vents, not just fixtures
It's tempting to think about lighting as a finishing touch, something to add once the walls are in. But window placement and roof vent positioning are layout decisions that determine how much natural light the space gets throughout the day, which in turn affects how any color scheme actually reads once it's built. A palette that looks perfect in a mockup can feel completely different under the actual light a specific van layout lets in.
Only once the layout is locked in should color enter the conversation
This is the order that keeps builds from feeling reactive. Once you know where the kitchen sits, where the bed is, how much natural light comes through, and how tall the ceiling feels once cabinetry is in, color becomes a much easier decision instead of a guessing game. At that point it's worth looking at how finishes and palettes actually perform in a small, mobile space, since a lot of standard interior design advice doesn't translate directly to a van. This guide on color schemes for campervan interiors breaks down combinations that work specifically for these constraints, from lighter palettes that open up a tight footprint to warmer, moodier options for people who want the van to feel more like a cabin than a vehicle.
A rough build order that avoids most common regrets
-
Map the daily-use zones before drawing anything on paper.
-
Rough in plumbing, electrical, and insulation based on that map.
-
Build and test the structural layout, cabinetry, bed platform, storage, before finishing surfaces.
-
Live with the empty shell for a few days if possible. Walk through it, sit in it, open and close what you can.
-
Choose your color and material palette last, once you know exactly how light moves through the finished space.
Skipping straight to finishes is understandable, it's the visible, satisfying part of a build. But a van that's laid out well will forgive an imperfect color choice. A van that's laid out poorly won't be saved by a great one.

 English
 Arabic
 French
 Portuguese
 Deutsch
 Turkish
 Dutch
Dutch
 Italiano
 Russian
 Romaian
 Portuguese (Brazil)
 Greek
Greek